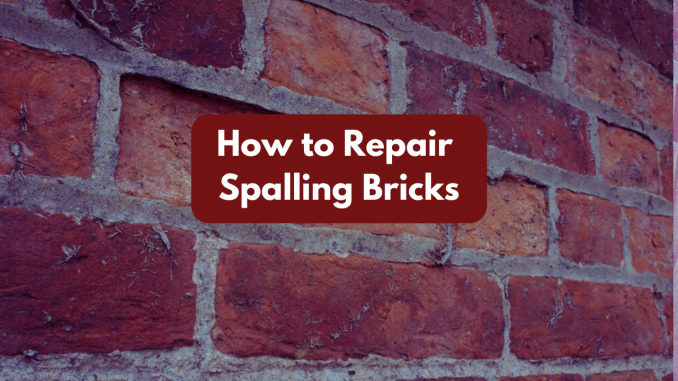
What exactly is Spalling?
Spalling refers to the process of the surface of bricks breaking, chipping, or flaking off, often due to various environmental factors or poor construction practices. It can result in the deterioration of the brick surface and compromise the structural integrity of the brick wall over time.
There are several reasons why spalling may occur in brickwork:
Cold climates
One common cause is exposure to freeze-thaw cycles in colder climates. When moisture infiltrates the brick, it can freeze during low temperatures, leading to the expansion of the water within the brick. The repeated cycles of freezing and thawing can cause the brick surface to crack and spall over time.
Moisture Penetration
Excessive moisture infiltration, whether from rainwater, leaking gutters, or inadequate drainage, can seep into the brick and weaken its structure. This can lead to spalling, especially if the moisture content within the brick fluctuates frequently.
Chemical Reactions
Some types of bricks may be susceptible to chemical reactions when exposed to certain environmental conditions or contaminants. Chemicals in the atmosphere, such as air pollution or acidic rain, can react with the minerals in the bricks, causing them to break down and spall.
Poor Workmanship
Inadequate bricklaying practices during construction, such as using improper mortar mixtures, insufficient curing time, or inadequate bonding, can lead to weak points in the brickwork, making it more susceptible to spalling.
Age and Wear
Over time, older bricks may naturally weaken, especially if they were of inferior quality to begin with or not well-maintained.
How to stop brickwork spalling
To prevent or minimise spalling in brickwork, it is essential to use high-quality bricks suitable for the specific environment and to follow proper construction practices. Additionally, regular maintenance, such as inspecting for cracks or signs of moisture penetration and addressing them promptly, can help prolong the life of the brickwork and prevent further deterioration. Applying appropriate sealants and coatings can also offer protection against moisture infiltration and chemical exposure.
Materials needed to repair spalling bricks
Whether it’s your house or a garden wall, repairing spalling bricks involves several steps to restore the damaged brickwork. Here’s a general guide on how to repair spalling bricks:
- Hammer and chisel or cold chisel
- Safety goggles and gloves
- Wire brush
- Brick adhesive or mortar mix
- Trowel
- Water and sponge
- Matching replacement bricks (if necessary)
- Protective sealant (optional)
Steps to repair spalling bricks
- Safety Precautions: Before you begin, make sure to wear safety goggles and gloves to protect yourself from flying debris and sharp edges.
- Assessment: Evaluate the extent of the spalling damage. If the damage is extensive or affecting the structural integrity of the wall, it’s best to consult a professional mason.
- Remove Loose Material: Use a hammer and chisel or a cold chisel to carefully remove any loose or damaged material from the spalled area. Gently tap the chisel to avoid further damaging the surrounding bricks.
- Clean the Area: Use a wire brush to clean the surface of the brick and remove any remaining debris or loose particles.
- Prepare the Mortar Mix: If the damage is deep, mix brick adhesive or mortar according to the manufacturer’s instructions. For minor repairs, you can use ready-to-use brick adhesive.
- Moisten the Brick: Before applying the mortar, dampen the brick’s surface with water using a sponge. This helps the brick absorb some moisture from the mortar and aids in better adhesion.
- Apply Mortar: Using a trowel, apply the mortar mix or brick adhesive to the damaged area. Fill in the spalled section evenly and smoothly, ensuring it is level with the surrounding brick surface.
- Match Replacement Bricks (if necessary): If the damage is severe, and you need to replace entire bricks, find matching replacement bricks in terms of size, colour, and texture. Remove the damaged brick by carefully chiseling around it and then insert the new brick, applying mortar around it to secure it in place.
- Finishing Touches: Once the mortar has set slightly but is still workable, use a trowel to shape it to match the surrounding brick joints. You can also try to match the texture of the repaired area with the existing brickwork. Remove any excess mortar from the surrounding bricks with a damp sponge while being careful not to disturb the freshly repaired area.
- Curing: Allow the repaired area to cure for the recommended time according to the mortar or adhesive manufacturer’s instructions.
- Optional Sealant: If desired, you can apply a protective sealant to the repaired area once it is completely dry. This can help prevent future moisture penetration and protect the brickwork.
Keep in mind that this is a general guide, and the specific repair process may vary depending on the extent of the damage, the type of bricks used, and the mortar or adhesive product you choose. If you’re uncertain about the repair process or the severity of the damage, it’s best to seek assistance from a professional mason or brickwork specialist.


Leave a Reply