

A shower tray is essential for the perfect shower experience. It retains water while you shower and direct it towards the drain.
Additionally, it provides a sturdy non-slip base for showering.
Therefore, not only is it important to choose the right one, but equally important to install it correctly.
Before replacing your shower, installing a shower tray is something that should be left for professional fitters.
However, if you have basic knowledge and experience using plumbing tools, it can be a fun DIY project over a weekend.
Whether you have a shower tray with a riser kit or without one, this step-by-step guide will help you complete the installation successfully.
In this guide, we collaborate with the Royal Bathrooms installation experts to provide you with in-depth instructions. Since they are experts at crafting shower trays in the UK
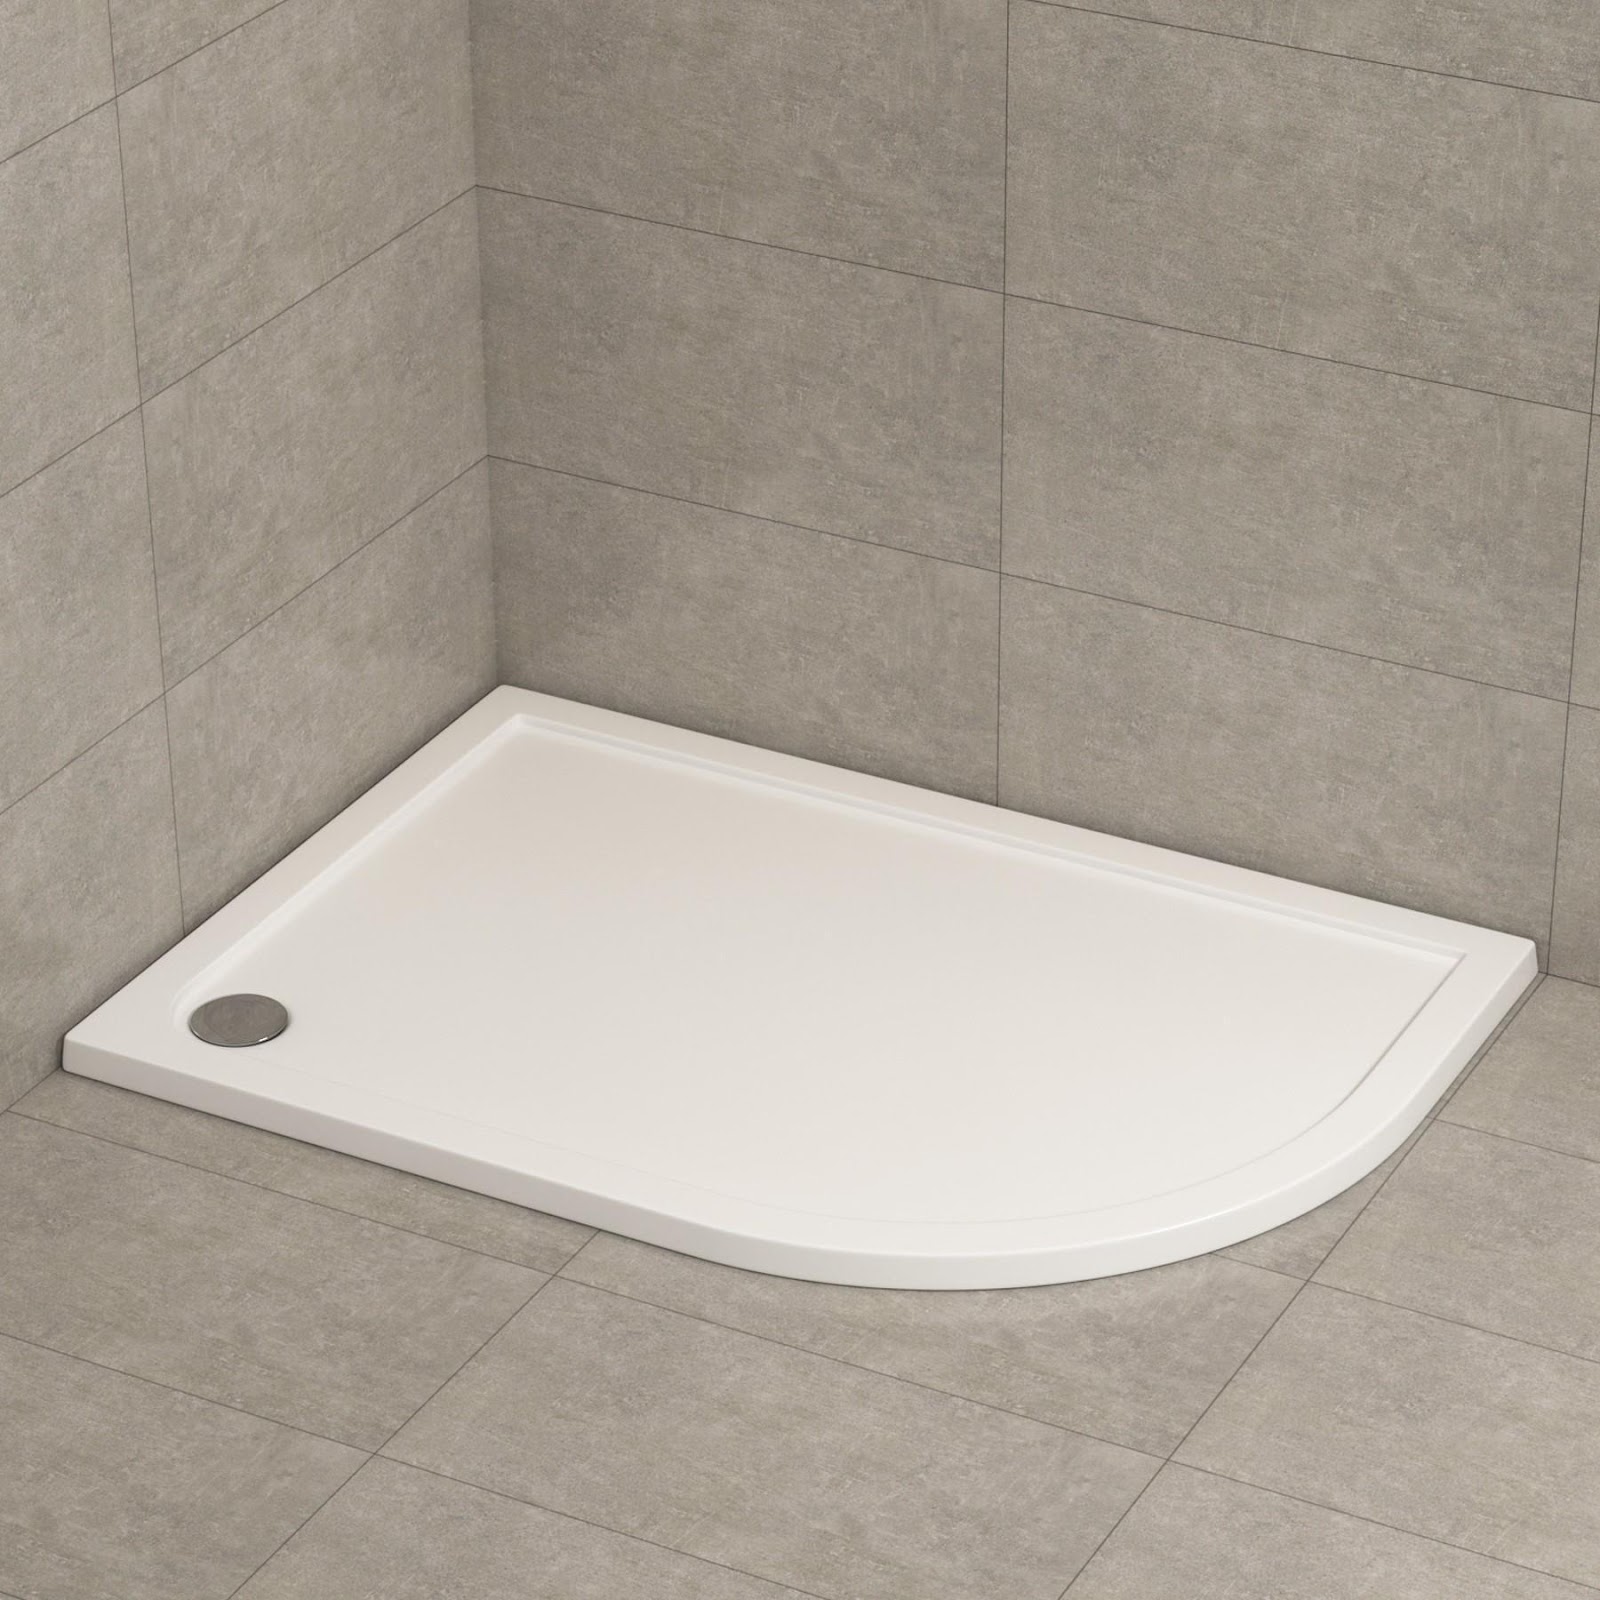
Should You Install a Flat Shower Tray or a Shower Tray with Riser Kit?
Before we go further, it is important to know the difference between two major types of shower trays in terms.
| Aspect | Shower Tray with Riser Kit | Shower Tray without Riser Kit |
|---|---|---|
| Use: | Elevates the shower tray for easy plumbing access and better drainage. | Installed flush with the floor, creating a minimalist look. |
| Installation Complexity (DIY): | Typically, more complex for a DIYer due to added components. | Easier for a DIYer as it involves a simpler installation process. |
| Riser Kit Components: | Riser legs, panels, and adjustable feet. | Not applicable (no riser components). |
| Plumbing Accessibility: | Easy access for plumbing connections due to the raised tray. | Plumbing connections may be more challenging due to limited space. |
| Drainage: | Improved drainage due to the raised position. | Drainage may depend on the floor’s slope. |
| Aesthetic Considerations: | May slightly increase the height of the shower area. | Creates a sleek, low-profile appearance. |
| Common Applications: | Common in bathrooms with limited underfloor space or for retrofits. | Common in modern, design-focused bathrooms. |
| Waterproofing: | May require extra care to ensure waterproofing around riser components. | Typically, straightforward for a standard tray. |
| Maintenance: | Easy access for maintenance and repairs. | May require more extensive work for maintenance under the tray. |
Regardless of the type of shower tray you choose, whether it is for a quadrant shower enclosure or any other, we are going to discuss both shower trays with a rise kit and without in this installation guide.
Materials and Tools Needed
You will need the following tools and materials for both adjustable and flat shower trays.
- Shower tray with or without a riser kit (depending on your choice).
- Adjustable wrench
- Spirit level
- Silicone sealant and caulk gun
- Screwdriver
- Tape measure
- Pencil
- Hacksaw (for cutting riser kit legs if needed)
Step-by-Step Shower Tray with Riser Kit Installation Process

If you plan to install an adjustable shower tray, then follow this process.
Step 1: Prepare the Area
You will first need to remove the old tray if you have one fitted already. It is also important to inspect the shower area after removal and repair any damage so you don’t get any problems at a later time.
- Additionally, ensure the floor is clean and level.
- Check the drainage system for any obstructions.
Step 2: Assemble the Riser Kit
- Follow the manufacturer’s instructions to assemble the riser kit.
- Adjust the legs to the desired height (usually between 100-200mm).
Step 3: Position the Tray
- Place the shower tray on top of the riser kit.
- Use a spirit level to ensure its level in all directions.
Step 4: Secure the Tray
- Locate the tray’s fixing holes and mark their positions on the floor.
- Drill pilot holes for screws.
- Screw the tray down through the holes into the floor using a screwdriver.
- Make sure it’s secure and level.
Step 5: Connect the Waste Outlet
- Connect the waste outlet to the trap.
- Apply silicone sealant to ensure a watertight seal.
- Check for leaks by running water through the drain.
Step-by-Step Shower Tray without Rise Kit Installation Process
In case you have a flat shower tray, then follow this process.
Step 1: Prepare the Area
In case you have an old shower tray then remove it first. You must also inspect the area for any repairs and damages.
- Make sure the floor is clean and level.
- Check the drainage system for any obstructions.
Step 2: Position the Tray
- Place the shower tray in the desired location.
- Use a spirit level to ensure its level in all directions.
Step 3: Secure the Tray
- Locate the tray’s fixing holes and mark their positions on the floor.
- Drill pilot holes for screws.
- Screw the tray down through the holes into the floor using a screwdriver.
- Make sure it’s secure and level.
Step 4: Connect the Waste Outlet
- Connect the waste outlet to the trap.
- Apply silicone sealant to ensure a watertight seal.
- Check for leaks by running water through the drain.
Final Step: Seal the Edges
- Apply silicone sealant around the edges of the shower tray where it meets the walls and floor.
- Smooth the sealant with your finger for a neat finish.
Please note that the newly fitted shower tray should be periodically checked for the sealant and reapplied as needed to prevent water damage.
Additionally, remember to buy the shower tray from a reliable retailer like Royal
Bathrooms and follow the manufacturer’s instructions for your specific shower tray and riser kit, as they may have unique requirements.
Additionally, make sure that all connections are watertight and double-check your work for leaks before using the shower.
If you’re unsure about any step in the process, consult a professional plumber or contractor for assistance. Safety should always be a priority when working with tools and plumbing systems.

Leave a Reply