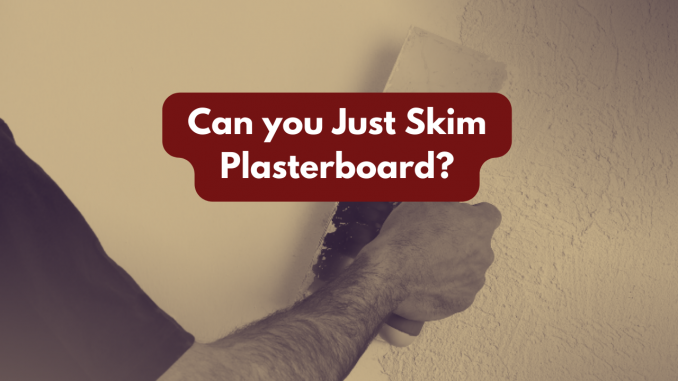
Skimming plasterboard, often referred to as drywall or gypsum board, is a crucial step in achieving a flawless finish for your walls or ceilings. Whether you’re renovating your home, finishing a basement, or tackling a DIY project, mastering the art of skimming plasterboard can elevate the aesthetic appeal of any space.
What is Skimming?
Skimming, in the context of construction and home improvement, refers to the process of applying a thin layer of joint compound or plaster over a surface, typically drywall or plasterboard, to create a smooth and seamless finish. This technique is commonly used to cover up imperfections in the surface, such as seams, joints, or rough patches, and prepare it for painting, wallpapering, or other decorative treatments.
Skimming is often performed after the installation of drywall or plasterboard to achieve a uniform appearance across the entire surface. It involves multiple steps, including applying the joint compound, embedding tape over seams or joints if necessary, and applying subsequent coats to build up the surface and achieve the desired level of smoothness.
How to Skim Plasterboard
Surface Preparation
Before beginning the skimming process, it’s crucial to prepare the plasterboard surface properly. Ensure the surface is clean, dry, and free of any dust, debris, or loose paper. Any imperfections or rough spots should be smoothed out to create a uniform base for the skim coat.
Mixing the Joint Compound
Next, mix the joint compound or plaster according to the manufacturer’s instructions. It’s essential to achieve a smooth consistency without any lumps. This mixture will serve as the material for creating the smooth finish over the plasterboard surface.
Application of the First Coat
Using a trowel or broad knife, apply a thin layer of joint compound evenly over the plasterboard surface. Begin at the top and work your way down, ensuring consistent coverage. The goal of the first coat is to provide a base layer for subsequent coats and to fill in any minor imperfections in the surface.
Embedding Tape (if necessary)
If you’re covering joints or seams between plasterboard panels, embed paper tape into the wet compound and smooth it out with the trowel. This helps reinforce the joints and prevents cracking over time. Ensure the tape is securely embedded and free of air bubbles.
Application of Subsequent Coats
Once the first coat has dried completely, typically overnight, apply additional coats of joint compound as needed to achieve the desired smoothness. Each subsequent coat should be thinner than the previous one, building up the surface gradually to avoid excess build up and ensure a seamless finish.
Sanding Between Coats
After each coat has dried, lightly sand the surface with fine-grit sandpaper to smooth out any imperfections and remove any rough patches. Be sure to clean off any dust before applying the next coat to maintain a smooth surface texture and adhesion.
Final Touches
After applying the final coat and allowing it to dry completely, perform a final sanding to achieve a perfectly smooth finish. Check the surface carefully for any remaining imperfections and address them as needed before proceeding to prime and paint or wallpaper the surface.
Priming and Finishing
Once the surface is smooth and free of imperfections, prime it to seal the surface and promote adhesion for the paint or wallpaper. After priming, proceed with painting or wallpapering the surface according to your desired finish, ensuring proper drying times between each coat for optimal results.
Skimming is a skill that requires attention to detail and proper technique to achieve professional-quality results. It can be time-consuming, but the end result is a smooth, seamless surface that provides the perfect base for a variety of finishing options, allowing you to customize and enhance the appearance of your walls or ceilings to suit your aesthetic preferences.

Leave a Reply